
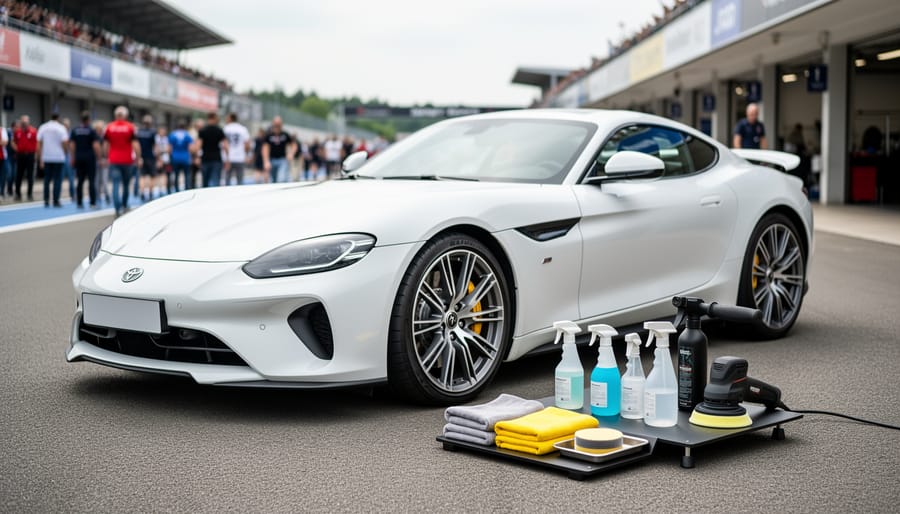
Preparing your vehicle for a motorsport weekend show-and-shine takes roughly three to four hours of focused work and transforms your daily driver or project car into an eye-catching display piece that celebrates your passion for automotive culture. The process follows a systematic clean-to-shine sequence: wash and decontaminate, correct paint imperfections, apply protection, and finish with interior and engine bay detailing. Whether you’re rolling up to a local track day or a major racing weekend, proper prep ensures your vehicle stands proudly alongside fellow enthusiasts while building connections within the motorsport community.
Key Takeaway: Show-and-shine participation connects you with like-minded motorsport fans, showcases your automotive pride, and creates memorable weekend experiences. Proper prep not only makes your vehicle look its best but also protects your investment and demonstrates respect for the event and community.
Show-and-shine areas at motorsport events welcome all vehicle types, from vintage classics to modern performance builds, daily commuters to track-focused machines. The goal isn’t perfection or professional-level finish work. It’s about presenting a clean, well-maintained vehicle that reflects your enthusiasm and invites conversation. You’ll need basic supplies: quality wash soap, microfiber towels, clay bar or decontamination mitt, polish or compound, wax or sealant, tire dressing, glass cleaner, and interior products. A car polisher speeds up the process but hand application works perfectly well for first-timers. If you are buying rather than borrowing, Car Care Products stocks the Mint Protools machines and Menzerna compounds as a matched set, which matters more than the badge on the machine: the pad, the compound and the backing plate have to suit each other.
The following guide walks you through each preparation stage with clear instructions, safety reminders, and verification checkpoints so you arrive confident and ready to park among the community.
What You’ll Need to Get Started
Getting your car show-ready requires the right supplies. Having everything on hand before you start saves time and prevents you from discovering halfway through that you’re missing a crucial product.
Your core kit should include two buckets (one for soapy water, one for rinsing your mitt), a pH-neutral car wash soap, and several microfiber towels in different colors so you can dedicate specific towels to specific tasks. You’ll need a wash mitt, a separate wheel brush, and a quality glass cleaner. Don’t skimp on the microfiber towels, cheap ones leave lint and scratch surfaces.
For interior work, grab a vacuum with attachments, interior surface cleaner, and a set of detailing brushes for vents and crevices. A dedicated glass cloth prevents streaks that regular towels leave behind.
Clay bar kits remove bonded contaminants that washing can’t touch. You’ll need a polish appropriate for your paint condition and a quality wax or sealant for protection. If your car has clear coat swirls, consider a dual-action polisher, though hand application works fine for light correction.
Tire dressing, trim restorer, and chrome polish handle the finishing details that separate good prep from great prep. These small touches make a noticeable difference when your car sits among dozens of other enthusiasts’ vehicles.
- Cleaning essentials: Two buckets, car wash soap, microfiber towels (at least six), wash mitt, wheel brush, hose with adjustable nozzle
- Detailing products: Clay bar kit, polish, wax or sealant, glass cleaner, tire dressing, trim restorer, chrome polish
- Tools: Vacuum with attachments, detailing brushes, applicator pads, buffing cloths, spray bottles
- Protective gear: Sunscreen, gloves, knee pads for wheel work, shade canopy if working outdoors
- Display accessories: Car cover for transport, quick detailer spray for touch-ups, portable folding chair, signage materials if you want to create an info card
A foam cannon attachment for your hose creates thick suds that cling to paint, loosening dirt before you touch the surface. A wheel woolie reaches behind spokes conventional brushes can’t access. If you detail regularly, these tools speed up your workflow.
Bring a small kit to the event: quick detailer spray, a couple of microfiber towels, and glass cleaner handle dust from the drive and fingerprints from admirers checking out your ride. Pack them in a discrete bag that stays out of sight during display.
Safety and Weather Considerations
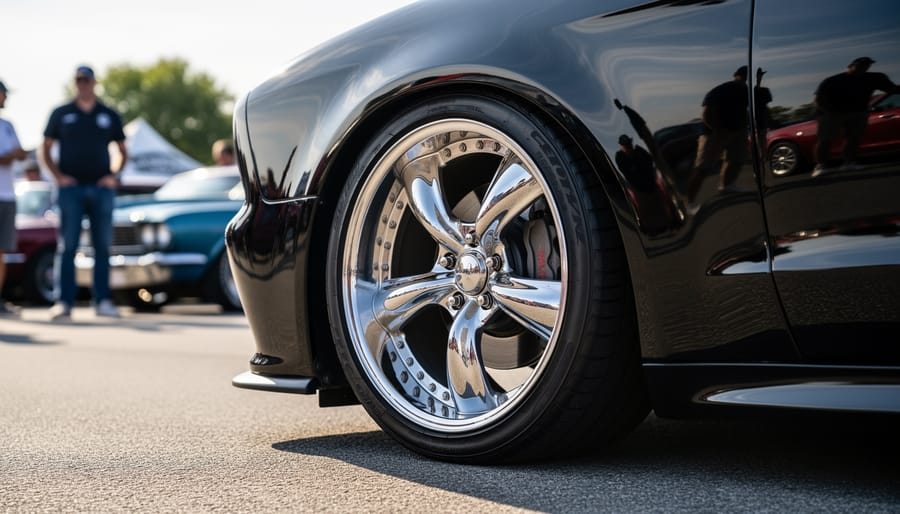
Before you start prepping, understand the risks. Car care products contain chemicals that demand respect, and outdoor work exposes you to sun and physical strain. Taking proper precautions protects both your health and the quality of your work.
Chemical safety matters more than most first-timers realize. Wheel cleaners, degreasers, and some polishes contain acids or solvents that irritate skin and lungs. Read product labels completely, never mix different chemicals, and keep a water source nearby in case you need to rinse something off quickly. If you’re working in a garage, open both ends to create airflow. Closed spaces trap fumes that build up faster than you’d expect.
Weather dictates your schedule. Avoid prepping in direct sunlight above 80°F, products dry too fast, leaving streaks and making buffing nearly impossible. Wind above 15 mph kicks up dust that sticks to wet surfaces and ruins your paint work. Light rain the day before your event isn’t a disaster, but never apply wax or sealant when rain threatens within 12 hours. The product won’t cure properly, and you’ll waste your effort.
Physical prep work strains your back, knees, and shoulders. Bend at the knees when washing lower panels, take breaks every 30 minutes, and stop if something hurts. Just like athletes who stay fit through proper technique or use training supplements for recovery, you need to treat vehicle prep as physical work. Rushing through a full detail in one session invites injury and sloppy results. If conditions aren’t right or you’re not feeling strong, postpone the work. A delayed prep job beats a rushed disaster.
Step-by-Step Prep Process
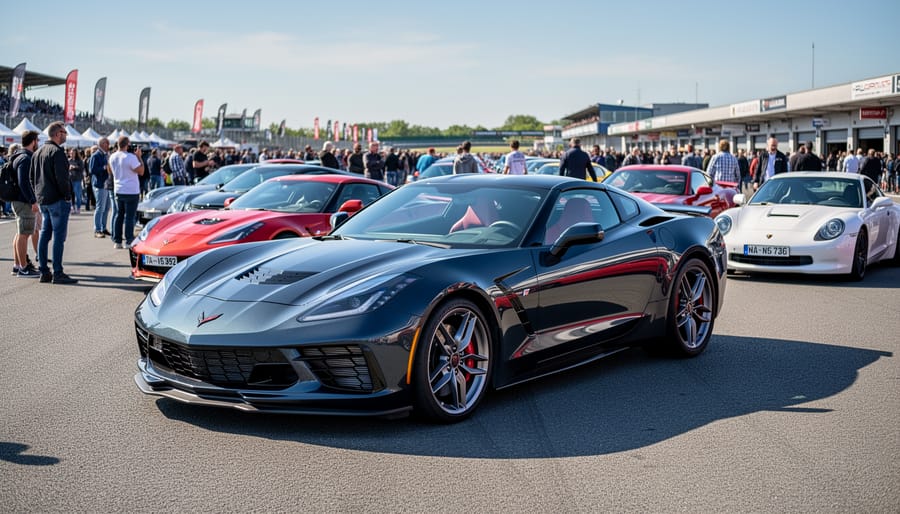
Deep Clean Your Exterior
Start with the wheels and wheel wells since they’re the dirtiest parts. Spray them with a dedicated wheel cleaner and let it dwell for thirty seconds. Use a wheel brush to scrub the face, spokes, and barrel, then rinse thoroughly before any product dries. This prevents brake dust from contaminating your wash water later.
Set up your two-bucket system: one with car shampoo mixed according to bottle directions, one with clean rinse water. The rinse bucket catches the dirt from your wash mitt before you reload with soapy water, keeping grit away from your paint. Use a microfiber wash mitt, never a sponge.
Rinse the entire car with a hose to remove loose dirt. Starting at the roof, wash one panel at a time using straight lines rather than circles. Work your way down the sides, then tackle the front and rear. Rinse your mitt in the clean water bucket after every panel, then reload with shampoo.
The bottom twelve inches of your car collects the most grime. Hit this area with extra attention, replacing your rinse water if it gets murky. Once you’ve washed everything, rinse the whole car from top to bottom. Don’t let soap dry on the paint. Dry immediately with clean microfiber towels, working panel by panel to avoid water spots.
Detail the Interior
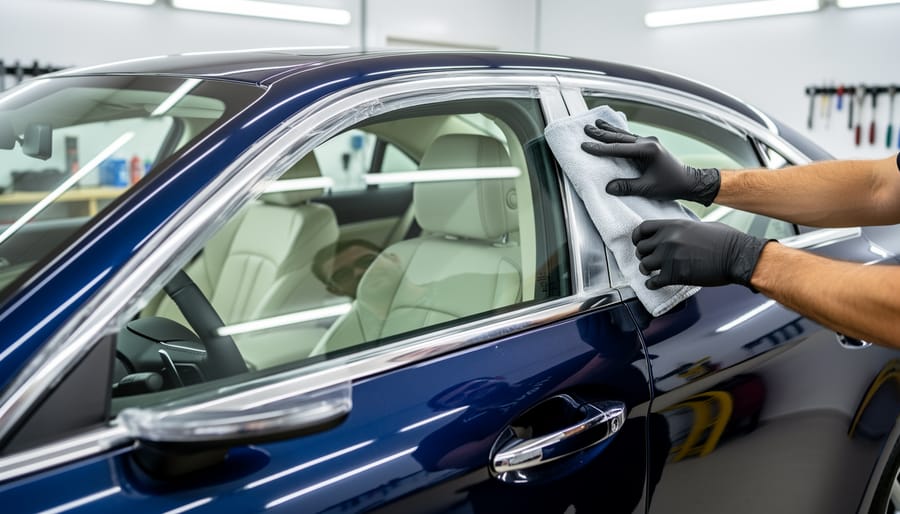
Start with a thorough vacuum, hitting the floors, seats, and crevices where dirt hides. Use a crevice tool to reach between seat rails and along door jambs. Pull out floor mats and shake them outside before vacuuming them separately.
Next, wipe down all hard surfaces with an appropriate cleaner. Use a dedicated interior detailer on your dashboard, center console, and door panels. For textured surfaces, spray cleaner onto a microfiber cloth rather than directly on the surface to prevent overspray on windows or upholstery.
Cup holders and air vents need special attention. Wrap a cloth around a butter knife or use detailing brushes to reach into vent slots where dust accumulates. For sticky cup holders, remove them if possible and soak in warm soapy water, or clean in place with cotton swabs dipped in all-purpose cleaner.
Clean all glass surfaces inside and out with glass cleaner and a dedicated glass towel. Work in straight lines rather than circles to avoid streaks, and tackle the windshield from both inside and outside for complete clarity.
Finish by organizing loose items. Remove unnecessary clutter, stow cables neatly, and arrange remaining items purposefully. A clean cabin shows you care about the whole vehicle, not just the exterior shine. If you have leather seats, apply conditioner to prevent cracking and add a subtle sheen.
Polish and Protect the Paint
Clay bar treatment comes first if your paint feels rough when you run your hand across it after washing. Spray a lubricant on a small section, gently glide the clay bar across the surface using light pressure, and fold it to expose a clean side when it picks up contamination. You’ll feel the paint become glass-smooth. Skip this step if your paint already feels smooth, it’s not always necessary.
Polishing removes light scratches and restores shine. Work in 2×2-foot sections using a foam applicator pad or dual-action polisher. Apply a small amount of polish, work it in circular motions until it starts to haze, then buff off with a clean microfiber towel. Don’t polish in direct sunlight or on hot paint, it makes the product dry too fast and leaves streaks you’ll spend ages trying to remove.
The biggest mistake people make is skipping the wax or sealant because they think polish alone protects the paint. It doesn’t. Polish refines the surface, but wax or sealant actually shields it from the elements during your drive to the event and while it sits in the show-and-shine area. Apply your chosen protectant using the same section-by-section approach, let it cure according to the product instructions (usually 5-10 minutes), then buff to a deep gloss with a fresh microfiber towel.
Use separate towels for polish and wax, never the same one. Polish residue will prevent wax from bonding properly. If you’re short on time, choose either polishing or waxing rather than rushing both. A well-waxed car with minor imperfections looks better than a half-done polish job with no protection.
Handle the Finishing Touches
With your paint gleaming, the final details separate a clean car from a show-ready one. Start with tire dressing, apply a water-based product sparingly to clean, dry sidewalls using an applicator pad. Work it into the rubber rather than coating the surface, which prevents fling and creates a natural satin finish instead of an artificial wet look. Let it cure for ten minutes before moving the car.
Chrome and metal trim need targeted attention. Use a dedicated chrome polish or metal cleaner on a microfiber applicator, working in small circles to remove oxidation and water spots. Buff immediately with a clean cloth. For black plastic trim that’s faded grey, apply a trim restorer or back-to-black product with light, even strokes. Test any trim product on a hidden spot first, some formulas can stain adjacent paint.
The engine bay makes a bigger impression than most people expect. Focus on visible surfaces: wipe down the valve cover, air intake, and fluid reservoirs with a damp microfiber. Use a detailing brush for crevices. Dress rubber hoses and plastic covers with the same trim product you used outside. Skip the heavy degreaser unless you’re addressing actual oil leaks, a simple wipe-down looks cleaner than an obviously scrubbed bay.
Step back and scan from ten feet away. If something catches your eye as overdone or missed, fix it now before transport.
Prepare for Transport and Display
Lock in your hard work with a final wipe-down using a clean microfibre cloth, checking for fingerprints around door handles and missed water spots. Pack a quick-detail spray, extra microfibre towels, and tyre shine in a small bag for event-day touch-ups after the drive. Bring a folding chair, sunshade if allowed, and basic info cards about your vehicle to enhance your display. Drive carefully to avoid bugs and road debris, leave extra time for a gentle cruise, and plan to arrive early enough for a final once-over before parking in the show area.
How to Know Your Car Is Show-Ready
Your car is show-ready when it meets three core standards: clean, consistent, and polished enough to reflect detail. Walk around the vehicle slowly in good natural light, ideally midday sun, and look for streaks, missed dirt, and dull spots. Crouch down to check lower panels and wheel wells where grime hides. Run your hand over the paint, it should feel smooth, not gritty.
Check these common missed areas: door jambs, gas cap surround, behind side mirrors, wiper blade edges, pedals, and the trunk seal. Pop the hood and verify that you’ve cleaned visible engine components and the underside of the hood itself. Inspect glass from multiple angles for smears or cleaner residue that only shows in certain light.
Test your finish by viewing it in both direct sunlight and shade. Swirl marks and uneven polish show up clearly in bright light, while shade reveals whether your wax coat is even. If you see hazing or dull patches, buff those areas again with a clean microfiber cloth.
The final test is simple: would you be proud to park this car next to others at the event? Show-and-shine isn’t a concours competition with judges measuring paint thickness. It’s about bringing a vehicle you’ve cared for and presenting it well. If you’ve followed the prep process and addressed visible flaws, you’re ready to display.
Your Next Steps After Prep
Finish your prep work the evening before the event to allow sealant and dressings to cure properly overnight. Store your car in a covered space if possible and avoid driving it until you leave for the show-and-shine.
On event day, arrive during the designated setup window rather than at the last minute. This gives you first choice of display spots and time to wipe down any dust from the drive. Pack a microfiber towel, quick detailer spray, and tire shine for touch-ups after parking.
Once you’re set up, walk around and network with enthusiasts who share your passion. Most show-and-shine participants love talking about their prep process, modifications, and favourite motorsport moments. Exchange contact information with people who might become regular weekend event buddies.
Many motorsport weekends also feature vendor areas where you can browse sports memorabilia performance parts, and detailing products. Take photos of your display setup to track what worked well for next time, and don’t be shy about entering any informal awards or voting if the event offers them.
Common Questions About Show-and-Shine Prep
How far in advance should I prep my car before the event?
Complete your full prep the day before the event to avoid rushing, then do a final wipe-down the morning of the show to remove any overnight dust or dew. This timing gives you flexibility to address any issues without last-minute stress.
What should I do if rain is forecast for event day?
Check the event organizer’s social media or website for weather updates, as many shows continue in light rain or move vehicles under covered areas. Bring microfiber towels and quick detailer spray for spot touch-ups, and consider a car cover for the drive if conditions worsen.
Are modified cars welcome at motorsport weekend show-and-shines?
Yes, most motorsport weekend show-and-shines welcome all enthusiast vehicles regardless of modification level, from bone-stock daily drivers to heavily customized builds. The community atmosphere celebrates automotive passion in all forms.
Do I need to register in advance or pay a fee?
Registration requirements vary by event, with some requiring advance sign-up and others accepting walk-ups on the day. Check the specific motorsport weekend’s website or contact organizers directly to confirm their process and any associated fees.
First-timers often worry their car isn’t special enough or their prep skills aren’t professional-grade. The reality is that show-and-shines at motorsport weekends prioritize enthusiasm over perfection. You can practice indoors with a test panel or less-visible body section if you’re uncertain about a new technique before tackling the entire vehicle.
Product recommendations depend on your budget and time commitment. Entry-level participants achieve excellent results with basic car wash soap, a quality microfiber wash mitt, and a spray wax, costing under $50 total. If you’re uncertain which products to choose, start with well-reviewed brands from automotive retailers rather than generic household cleaners, which can damage finishes. You’ll refine your product preferences as you gain experience and discover what works best for your specific vehicle and prep routine.
You’ve now got everything you need to bring your vehicle to the motorsport weekend and join the show-and-shine community. The prep work you’ve put in isn’t just about making your car look great, it’s your ticket to connecting with fellow enthusiasts who share your passion for motorsport and automotive pride.
Remember, show-and-shine areas welcome all vehicles and all experience levels. Whether you’re rolling in with a meticulously restored classic, a modified track toy, or your daily driver that you’ve simply cleaned with care, you belong there. The community values enthusiasm and effort over perfection. First-timers often worry their car isn’t special enough, but the conversations you’ll have and the connections you’ll make matter far more than your paint’s mirror finish.
Pack your supplies, double-check your prep work, and head to the event with confidence. You’ll find that displaying your vehicle adds a whole new dimension to the motorsport weekend experience. The pride of seeing your work on display, the camaraderie of swapping stories with other owners, and the shared excitement of the racing action create memories that go well beyond watching from the grandstands. Get out there and be part of it.